


Welcome, please login or register


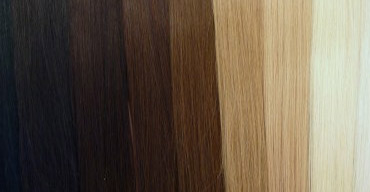
Not sure what colour or thickness you should choose?
Upload a photo to us and one of our experts will help.
Join today and start earning fantastic rewards!
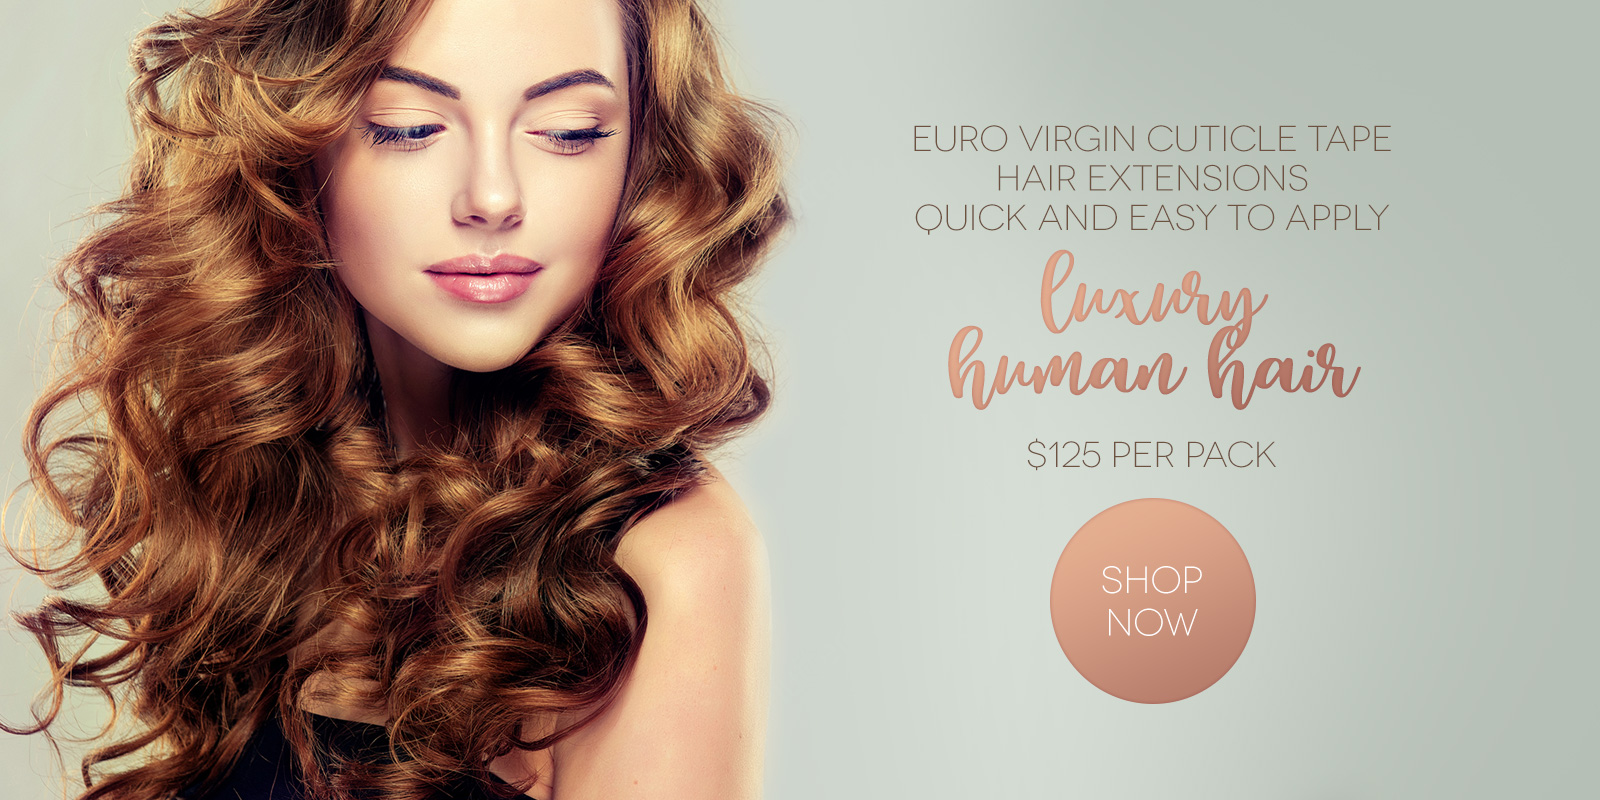
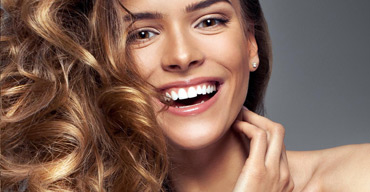
Cleopatra’s hair extensions are beloved by women all over Australia! They are all absolutely silky, smooth and natural-looking!
Our hair extensions are specifically designed to help you get your desired look with incomparable beauty and perfection…. just like the real Cleopatra.
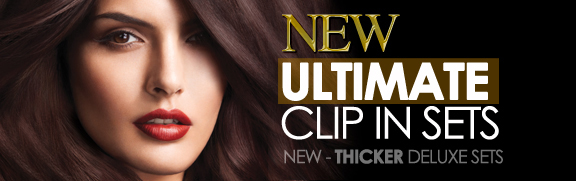
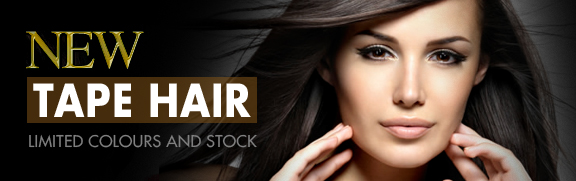
As one of the most trusted hair extension suppliers in Australia, our online store features a plethora of high quality Clip In Hair Extensions, Micro Bead Extensions and many more…all at amazing low prices!
The beautiful hair extensions that you see at Cleopatra’s online store are great for any woman who wants to add volume and body to the hair. We bring in only the most superior products and we promise you that our Hair Extensions are the closest thing you can find to real, organic human hair.
Cleopatra specialise in supplying 100% Remy Human Hair Extensions in a variety of thickness, lengths, styles and colours to suit anyone and everyone! Never again will you have to worry about unnatural looking artificial hair because our Remy Human Hair Extensions will perfectly blend in with your hair.
Our exceptional clip in hair extensions eliminates scalp discomfort and stress on roots, which could cause the hair to pull or break! On top of that, they will sit naturally on your scalp and provides a secure yet comfortable grip to ensure that your clip in hair extensions never fall or get tangled. Plus, you can easily curl, wash or straighten your extensions whenever you want to!
Over the years, we have gained a reputation as one of the most dynamic suppliers of human hair extensions. And this can be credited to our ability to give customers a selection of high quality hair extensions and providing them with excellent service.
Even better yet, we have a great track-record of happy customers across Australia and New Zealand. We fully understand that every girl dreams of having gorgeous, luscious locks. That is why Cleopatra scours the market for first class hair extensions that will make your hair even more beautiful, which will directly empower you with happiness and confidence.
Cleopatra processes payments through one of Australias largest banks...ANZ. We also use Paypal. This is to ensure that your credit card details are secure at all times so that you can get a smooth-sailing online shopping experience with us. It’s easy to buy your hair extensions online with our simple checkout system.
All you need to do is pick the hair extensions that suit you best and complete your purchase with a few clicks!


